

How to Set up a Workflow in Flodesk to Automate Your Email Marketing

Utilising Flodesk’s ‘Workflows’ feature is the best way to take your email marketing to the next level, without the extra work!
First, if you haven’t heard of Flodesk before, it is my favourite email marketing platform and the one I recommend to all my website clients. They’re relatively new on the scene but have so many awesome features and they’re much better value than other email marketing softwares out there at the moment. If you’d like more information, I have a whole guide on Flodesk (plus a link to get 50% off your subscription - for life!) here.
Want to watch this as a video? (If not, keep scrolling)
What is a ‘workflow’ in flodesk?
A ‘workflow’ is as a sequence of steps or actions that happens automatically after a ‘trigger’. It’s just a ‘flow’ of things happening without you having to do anything!
What a lot of people don’t realise is that sending out weekly email newsletters or a promotional email every now and then is only HALF of what email marketing is all about. The other half is all in the automation, and creating workflows (or ‘sequences’) of emails that get sent out to the right people, at the right time, without any input from you.
Further reading: 5 Ways You Should Be Doing with Your Email List
What can you use workflows for?
Using ‘workflows’ and automations in your email marketing is a great way to save you loads of time and also to create a tailored experience for your audience, because you can automate the process of checking to see what someone is interested in, for examples.
Below are just a few of the ways you can use workflows:
Send a ‘welcome’ email or ‘welcome series’, introducing each new subscriber to your list with the same series of emails
Deliver an ‘opt-in freebie’ automatically to new subscribers
Send out sales funnels or ‘nurture sequences’ leading subscribers towards a sale
Create an email course by sending information out at the right time to the right people
And much more!
How to set up a workflow in flodesk:
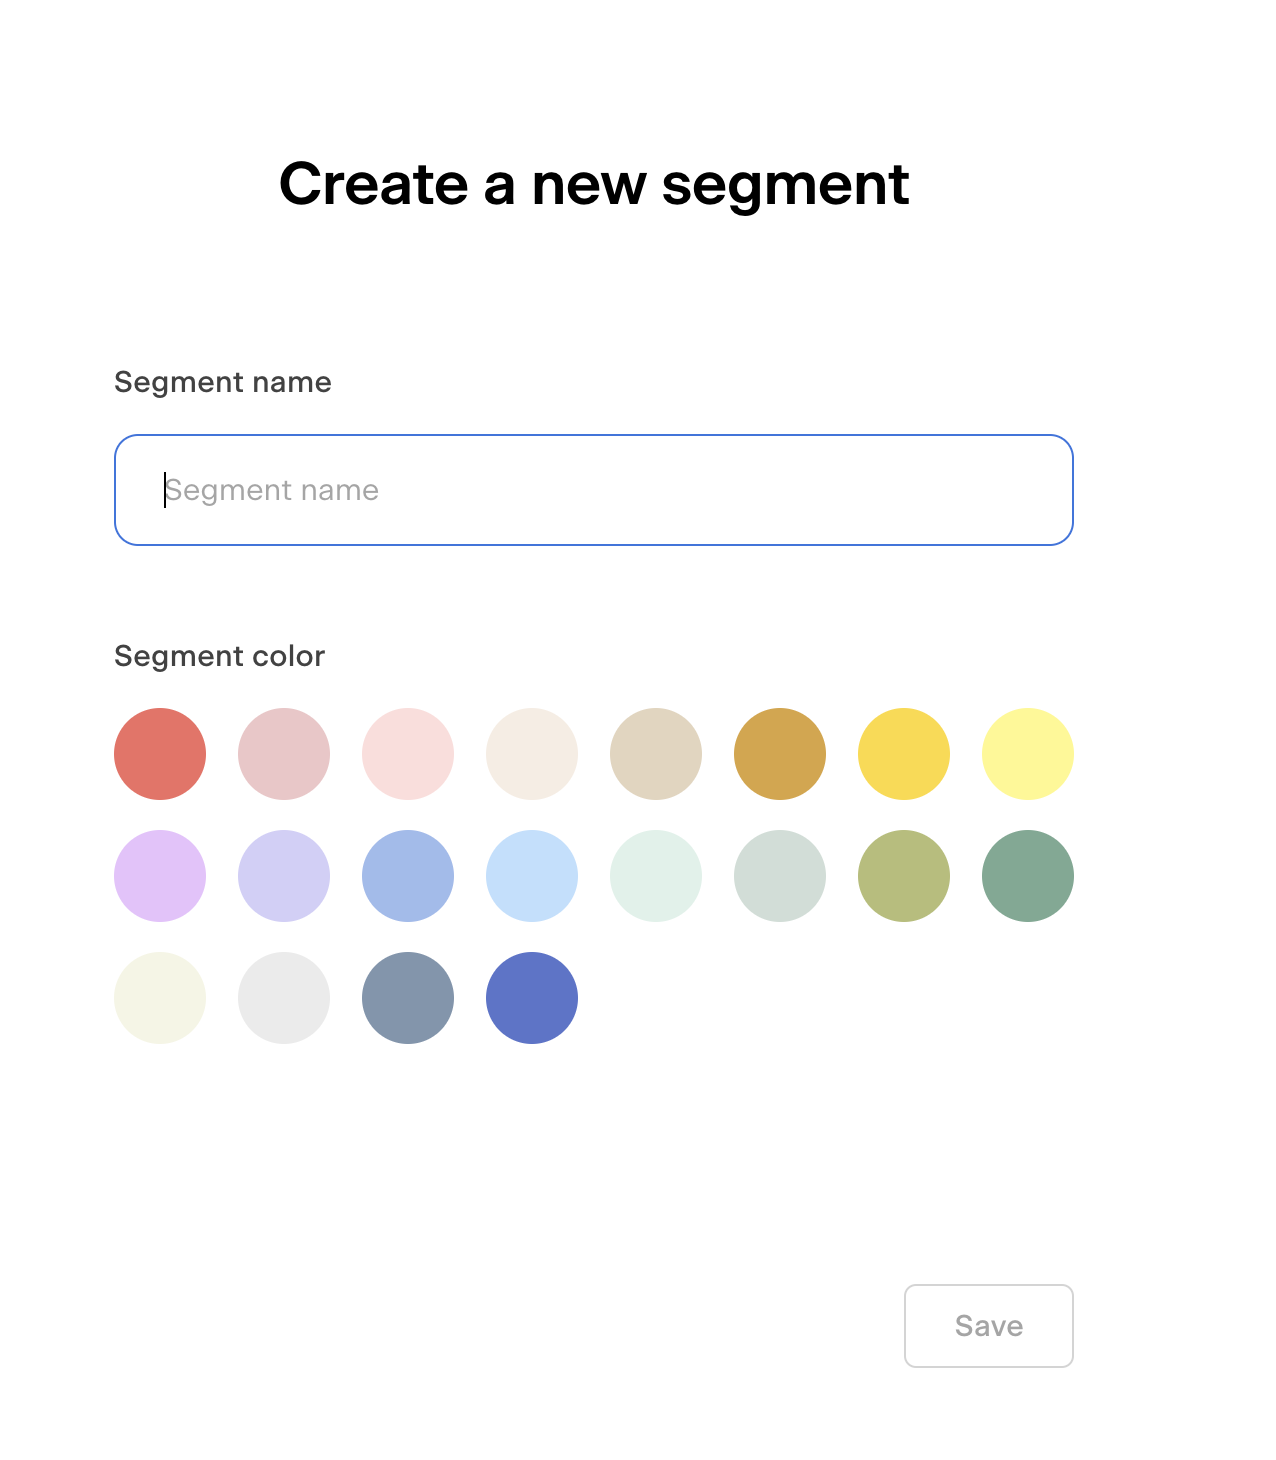
1. Create a segment for your workflow
Before we even get started going into the ‘Workflows’ area of Flodesk, we first need to get a segment set up to put all the subscribers who will be going into our Workflow. This is because ‘adding a subscriber to this segment’ will act as the ‘trigger’ to kick off our Workflow.
Go into Audience > Segments and create a segment. Name it whatever your Workflow will be sending to people (eg. ‘Goals PDF’ or ‘Welcome Sequence’).
2. Create a form that adds subscribers to that segment
Next, we need to create a form that will automatically add any subscribers into that new segment. Go into the ‘Forms’ area of Flodesk and create a new form. Fill in the content explaining what people will receive when they sign up via this form (ie. the contents of your Workflow - such as a free download, or just to be added to your email list for awesome content!).
In the form settings when you create it, you will be asked what segment you would like to add people to who sign up via this form. Here you want to select the segment you’ve just created.

3. Create a workflow in Flodesk and start with a ‘trigger’
Once you’ve created your form, head over to the ‘Workflows’ area and create a new one, starting from scratch or using one of Flodesk’s premade templates depending on what you need.
The first step in any automation or workflow like this always has to be a ‘trigger’! This is what tells Flodesk to run the rest of the steps in your workflow.
In this case, your trigger will usually be that ‘a subscriber is added to a segment’, and choose the segment you’ve just set up!

4. ‘when a subscriber is added to a segment, then send an email’
Once you have a trigger, it’s time to add the first step! Usually your first step will be to send an email. This will get sent instantly as soon as they have been added to the new segment (ie. as soon as they’ve filled out the form!).
Your first email might be a welcome email, an introduction to you and your list, a discount code, or an ‘opt-in freebie’ download, for example. You can customise the email here and edit the title and preview text.

5. You can also add time delays between steps & emails
You could stop here and just have one automated email in your workflow, or you can add more steps. A useful addition your workflows is a ‘time delay’, which creates a set period of time between one step and the next step.
So perhaps your first email is a freebie download, and you then want to send a follow up email with more information and asking how they found the freebie. You don’t want that follow up email to be sent immediately after the freebie email, so you need to add a time delay (eg. a few days, hours, or weeks) before the next email is added as a step.

6. ‘Only continue with the next step, if a ‘condition’ is met’
You can get even more specific by using ‘Conditions’ in your workflow, which ensure the next step will only continue, if a condition is met.
For example, you could add a condition that says ‘ONLY send the follow up email, IF the subscriber opened the first email’. There are loads of things you can do with this feature!
7. Get as complex as you like!
You can have as many steps in your workflows as you like, and as you can probably tell, they can get really complex and in-depth if you’re adding lots of conditions to ensure the right people get the right content. Have a play around and test them out by subscribing using the new form you’ve created!
Want to learn more?
Check out my ‘Email Marketing with Flodesk’ online course!
IN THE COURSE YOU’LL LEARN HOW TO:
📓Understand the legal/GDPR information surrounding email marketing
☑️ Set up Flodesk correctly and add/move over your subscribers
🏷 Organise subscribers with tags and segments
📈 Grow your list with sign up forms and opt-in incentives
☕️ Set up automated email sequences and workflows
💌 Plan, design & write amazing emails that get read and clicked on
🌟 Understand email analytics and track behaviours
