

5 Tips for Using Instagram Reels (Updated 2026)

Instagram Reels is probably one of my favourite Instagram features.
Since its addition to the Instagram app in 2020, Instagram Reels has become a huge part of the platform, and it remains a great way to have your content seen by more people and reach new audiences.
As a fan of short-form video content myself, I personally love creating Reels content, and have learned some tips and tricks along the way (from Reels that have fallen flat, vs having some go viral too!).
Watch the youtube video below for my viral Instagram reel story!
What are Instagram Reels?
Instagram Reels is essentially Instagram’s answer to TikTok; the hugely popular video sharing platform that’s been growing over the past couple of years. TikTok primarily has quite a young audience, and many of the videos are entertainment and humour based, but the number of brands and businesses starting to use it in their marketing has been steadily growing too.
And so obviously Instagram couldn’t let a slice of this market share go without trying it for themselves!
So nowadays the Instagram app has a whole ‘Reels’ section to explore, and when you search in the Explore page, Reels will also appear, so you can tap on the video to see a full screen version of it, and scroll/swipe to see more videos that Instagram thinks you’ll be interested in.

Each video is typically less than 60 seconds long (much like Instagram Stories!), but in the Reels editor you have many more editing options, allowing you to stitch several clips together within your 60 second video.
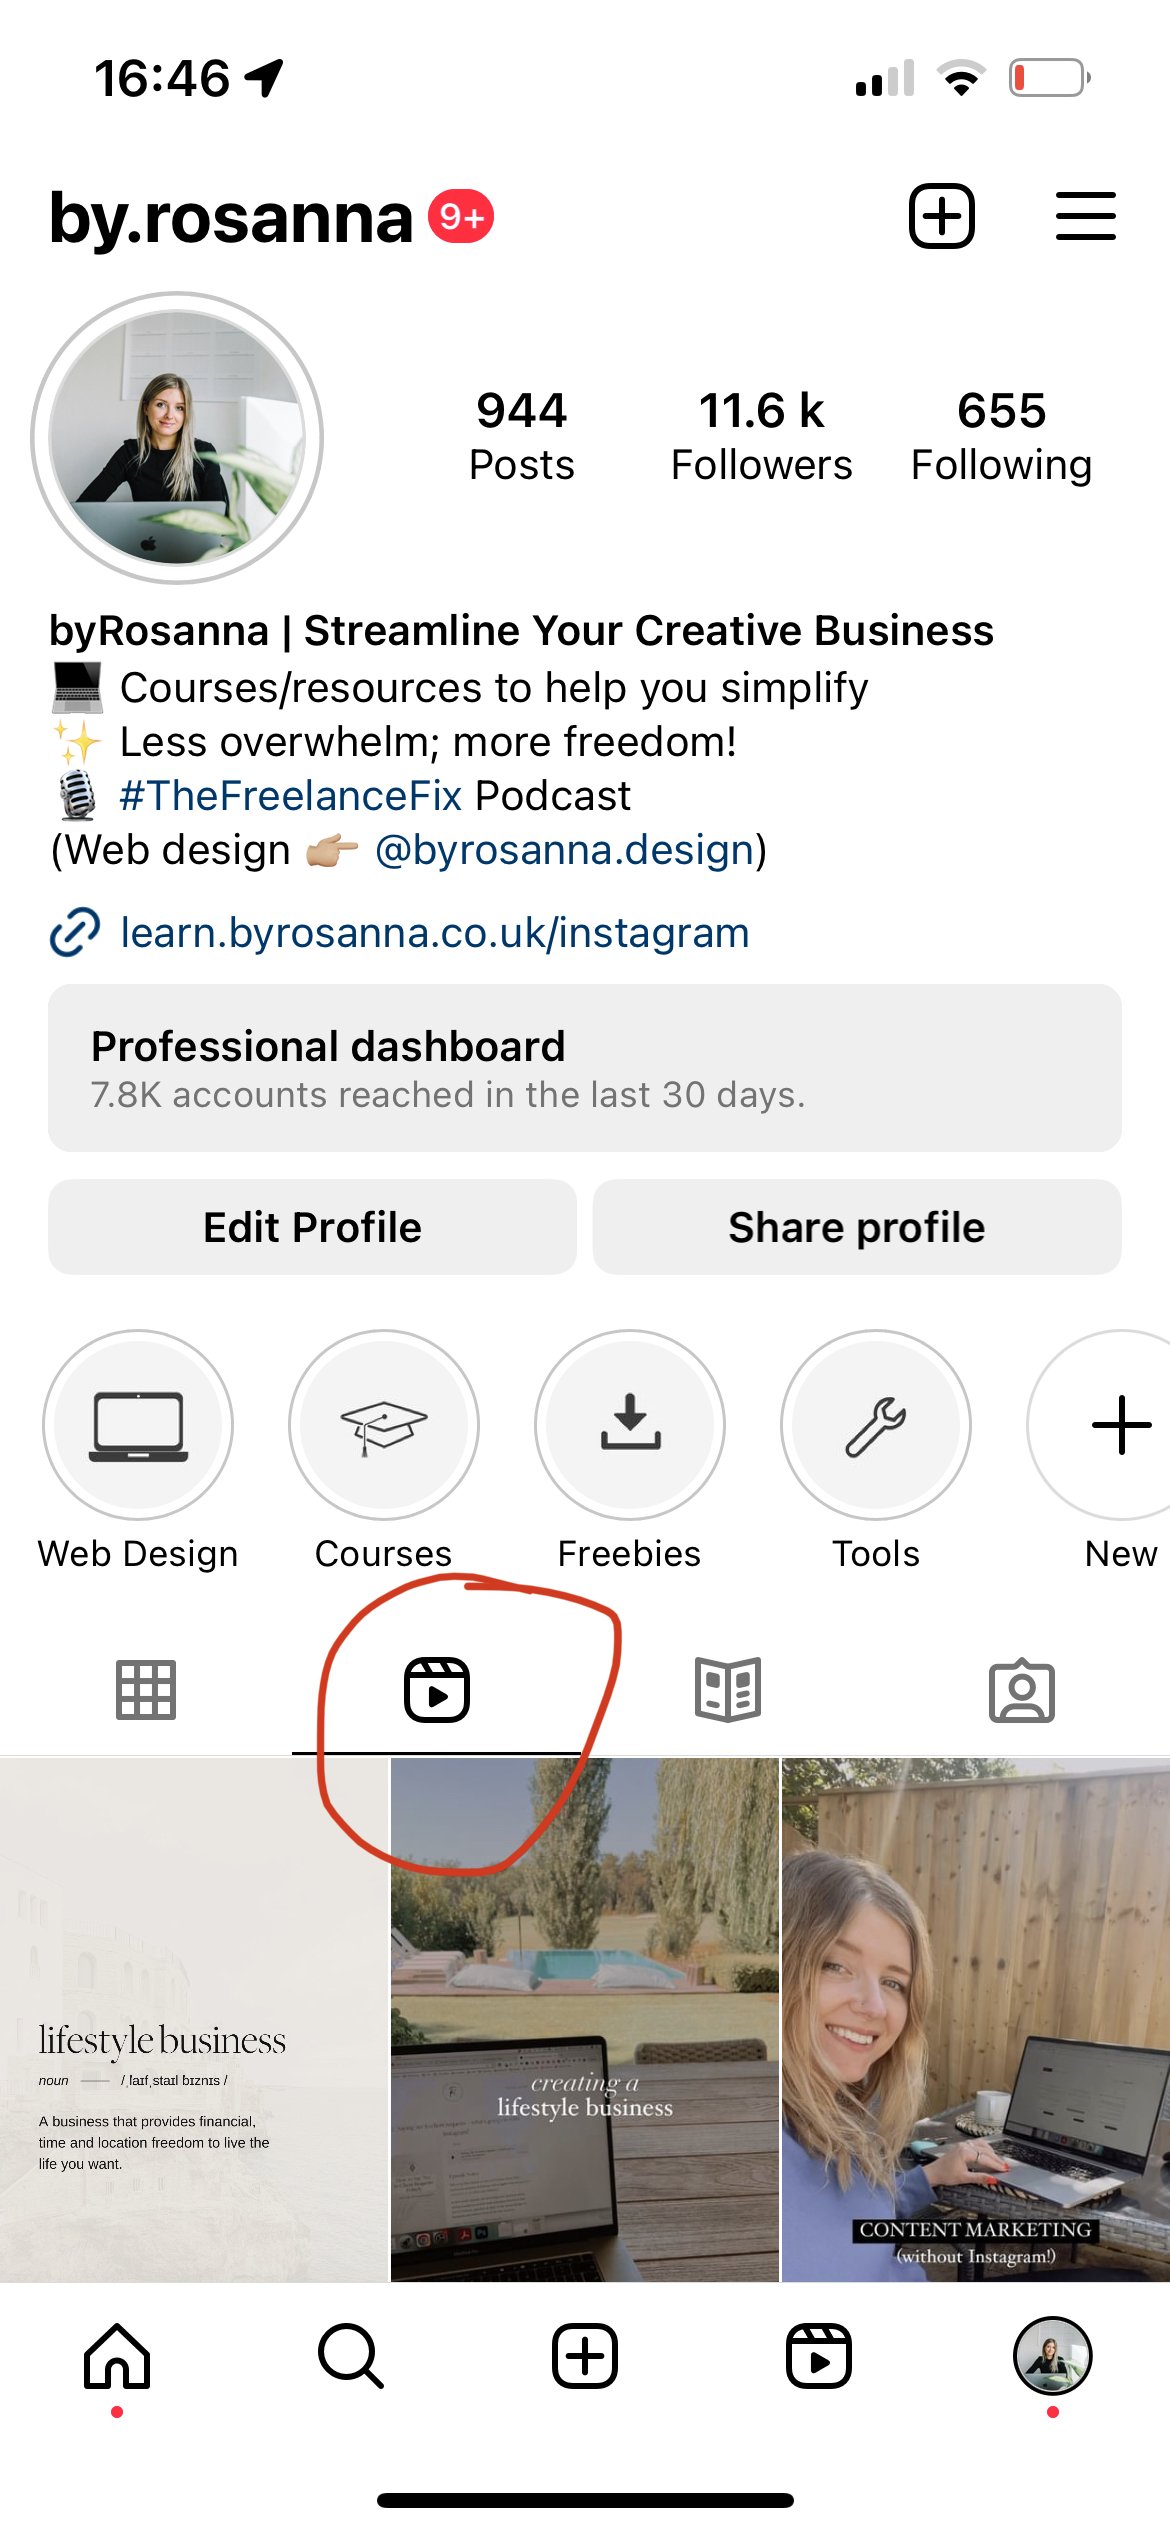
When you publish a Reels, it lives permanently in the new ‘Reels’ area on your profile, and can be shared to your grid too so they appear in your followers’ feeds.
As I’ve been making my own reels over the past few years, I’ve come across a few pitfalls so I thought I’d share my tips below…
Tip 1: Use trending audios on your Reels when you need a sound/music
If you need some music or an ‘audio’ to use in your Reel, try opting for a ‘trending’ audio to help your Reel gain traction (sounds are popular for a reason!).
Browse through other peoples’ Reels to see what sounds, audios and songs they’re using. You can see if an audio is trending if it has a little upwards pointing arrow next to it!
If you tap on the audio, you can then see all of the Reels that have used it, and tap to use it yourself.

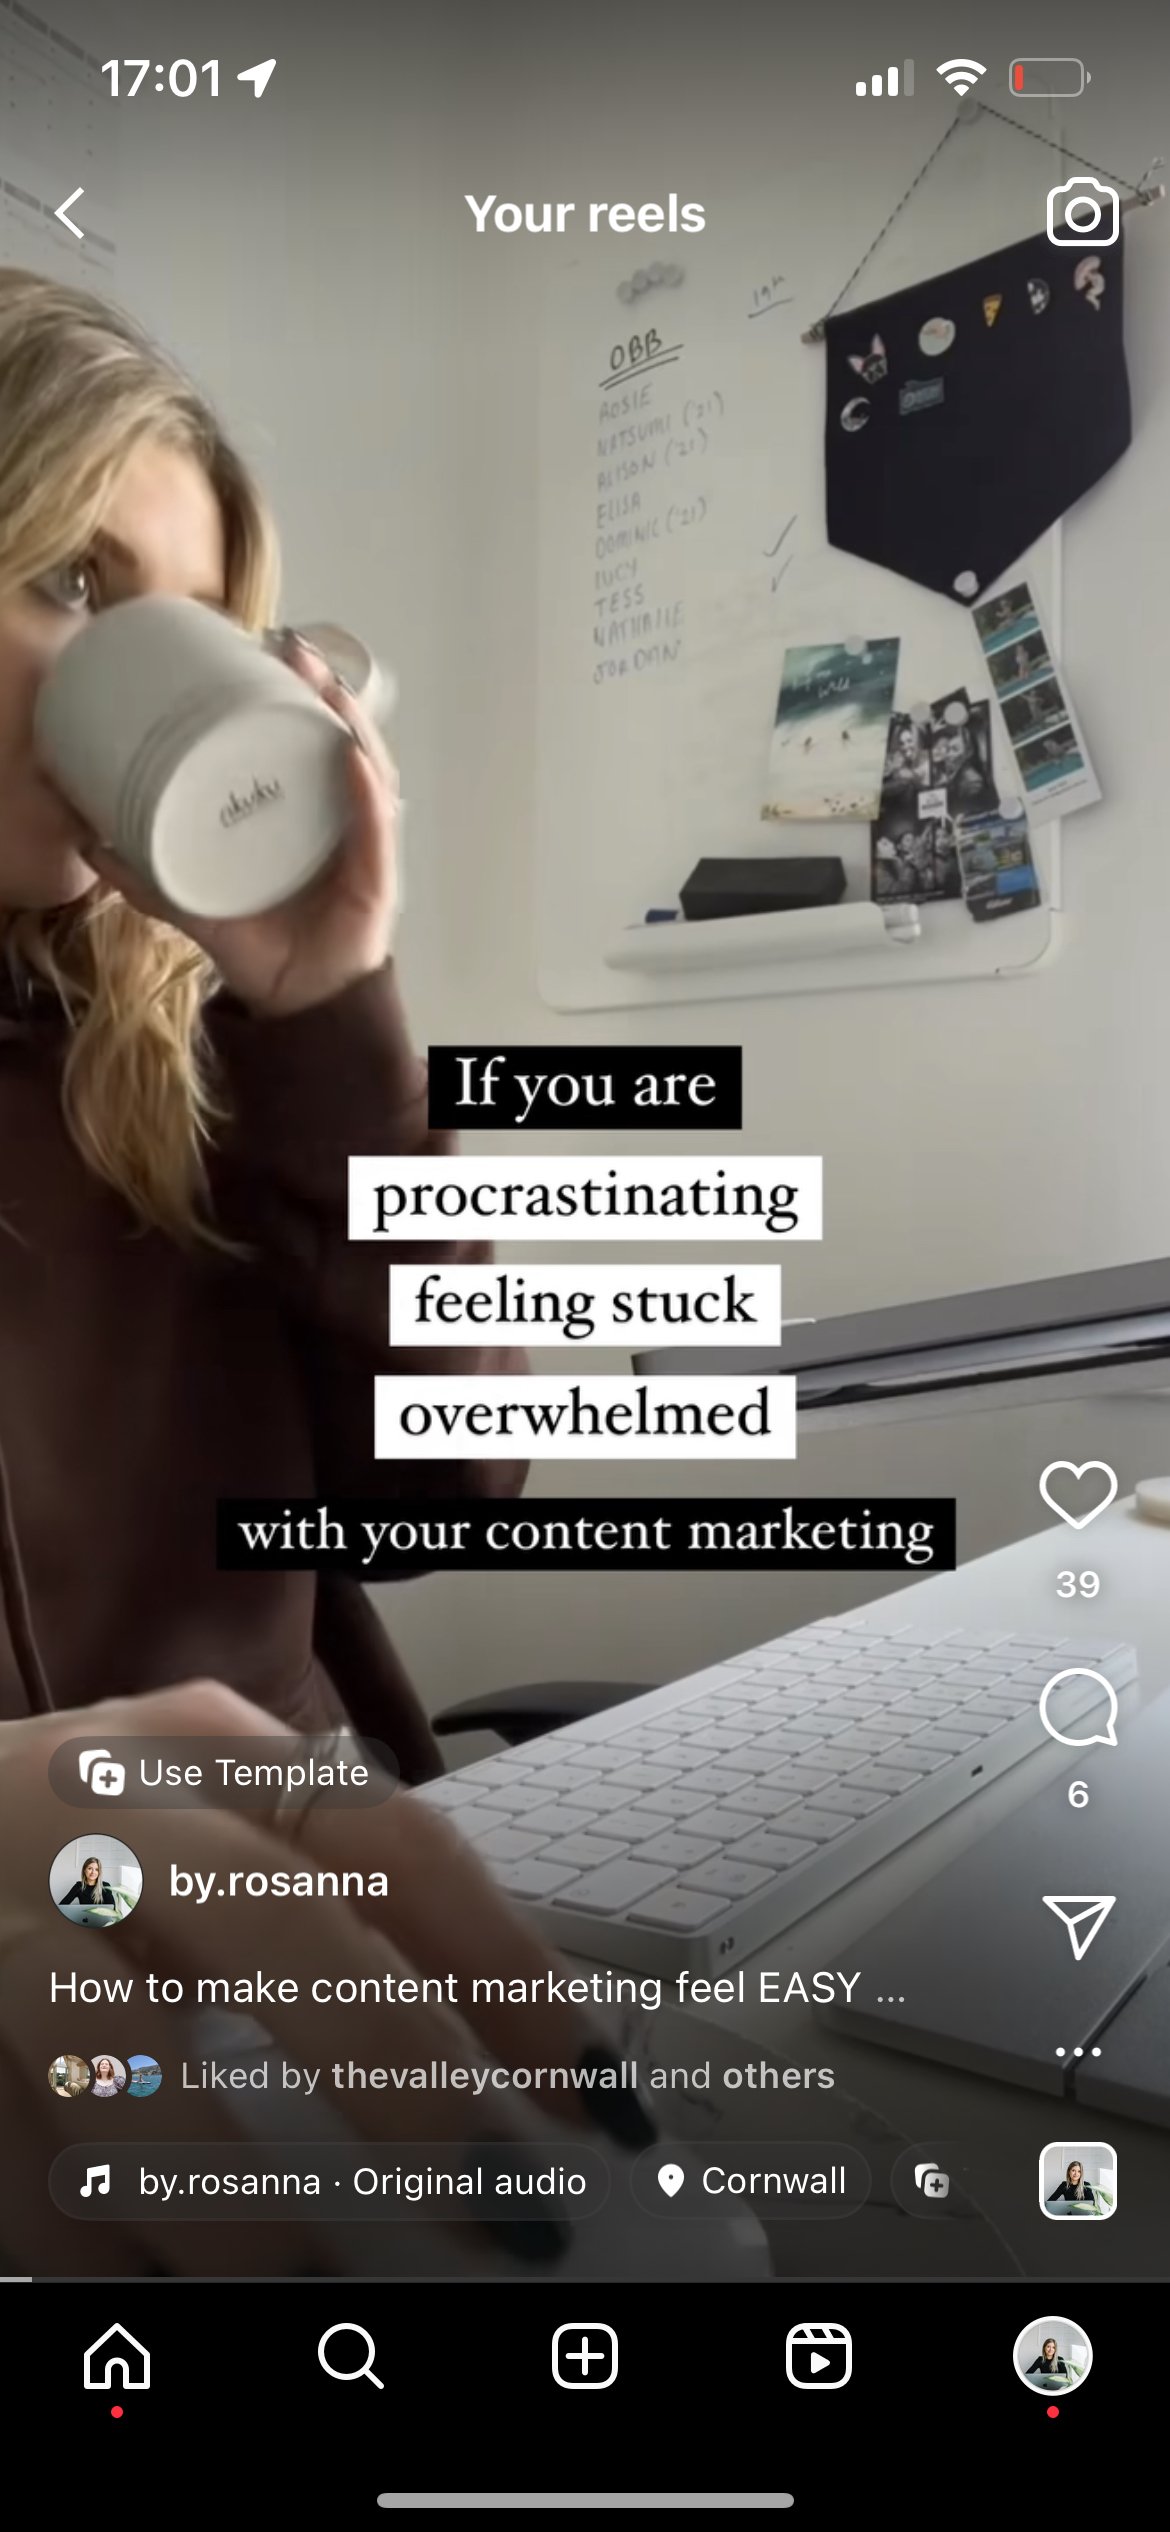
Tip 2: Be aware of common pitfalls when adding text to your Reels
Once you’ve stitched together your clips, the next screen gives you the opportunity to add stickers, draw with a pen, or add text - using the same features and fonts as Instagram Stories.
I’d definitely recommend using some text on your Reels to add interest and provide a caption/context for what’s going on in your video, but you’ll want to avoid the following:
Putting text too close to the bottom of the screen (this area gets covered by buttons & captions when people watch the Reel)
Putting text to close to the right-hand edge of the screen (this area gets covered again by buttons when people are watching)
Adding too much text over that appears too quickly (make sure people have enough time to read what you’ve added)
The best place for the text is the center or slightly below, and consider how it’s going to look when viewed in the Instagram feed as well if you’re sharing it to your grid, because this might cut off some of the text if not placed correctly.
When you add text, some guidelines will appear to try and keep you on track!
Tip 3: Upload a cover image to your Reel
Once you get to the final screen when you can add a caption and share your Reel, you can tap on the thumbnail of the video to upload your own cover image or select a frame from the video to become the cover image, so that it fits in better with your feed and looks appealing to tap on for your audience.
Watch my video below for how to easily create engaging reels covers!
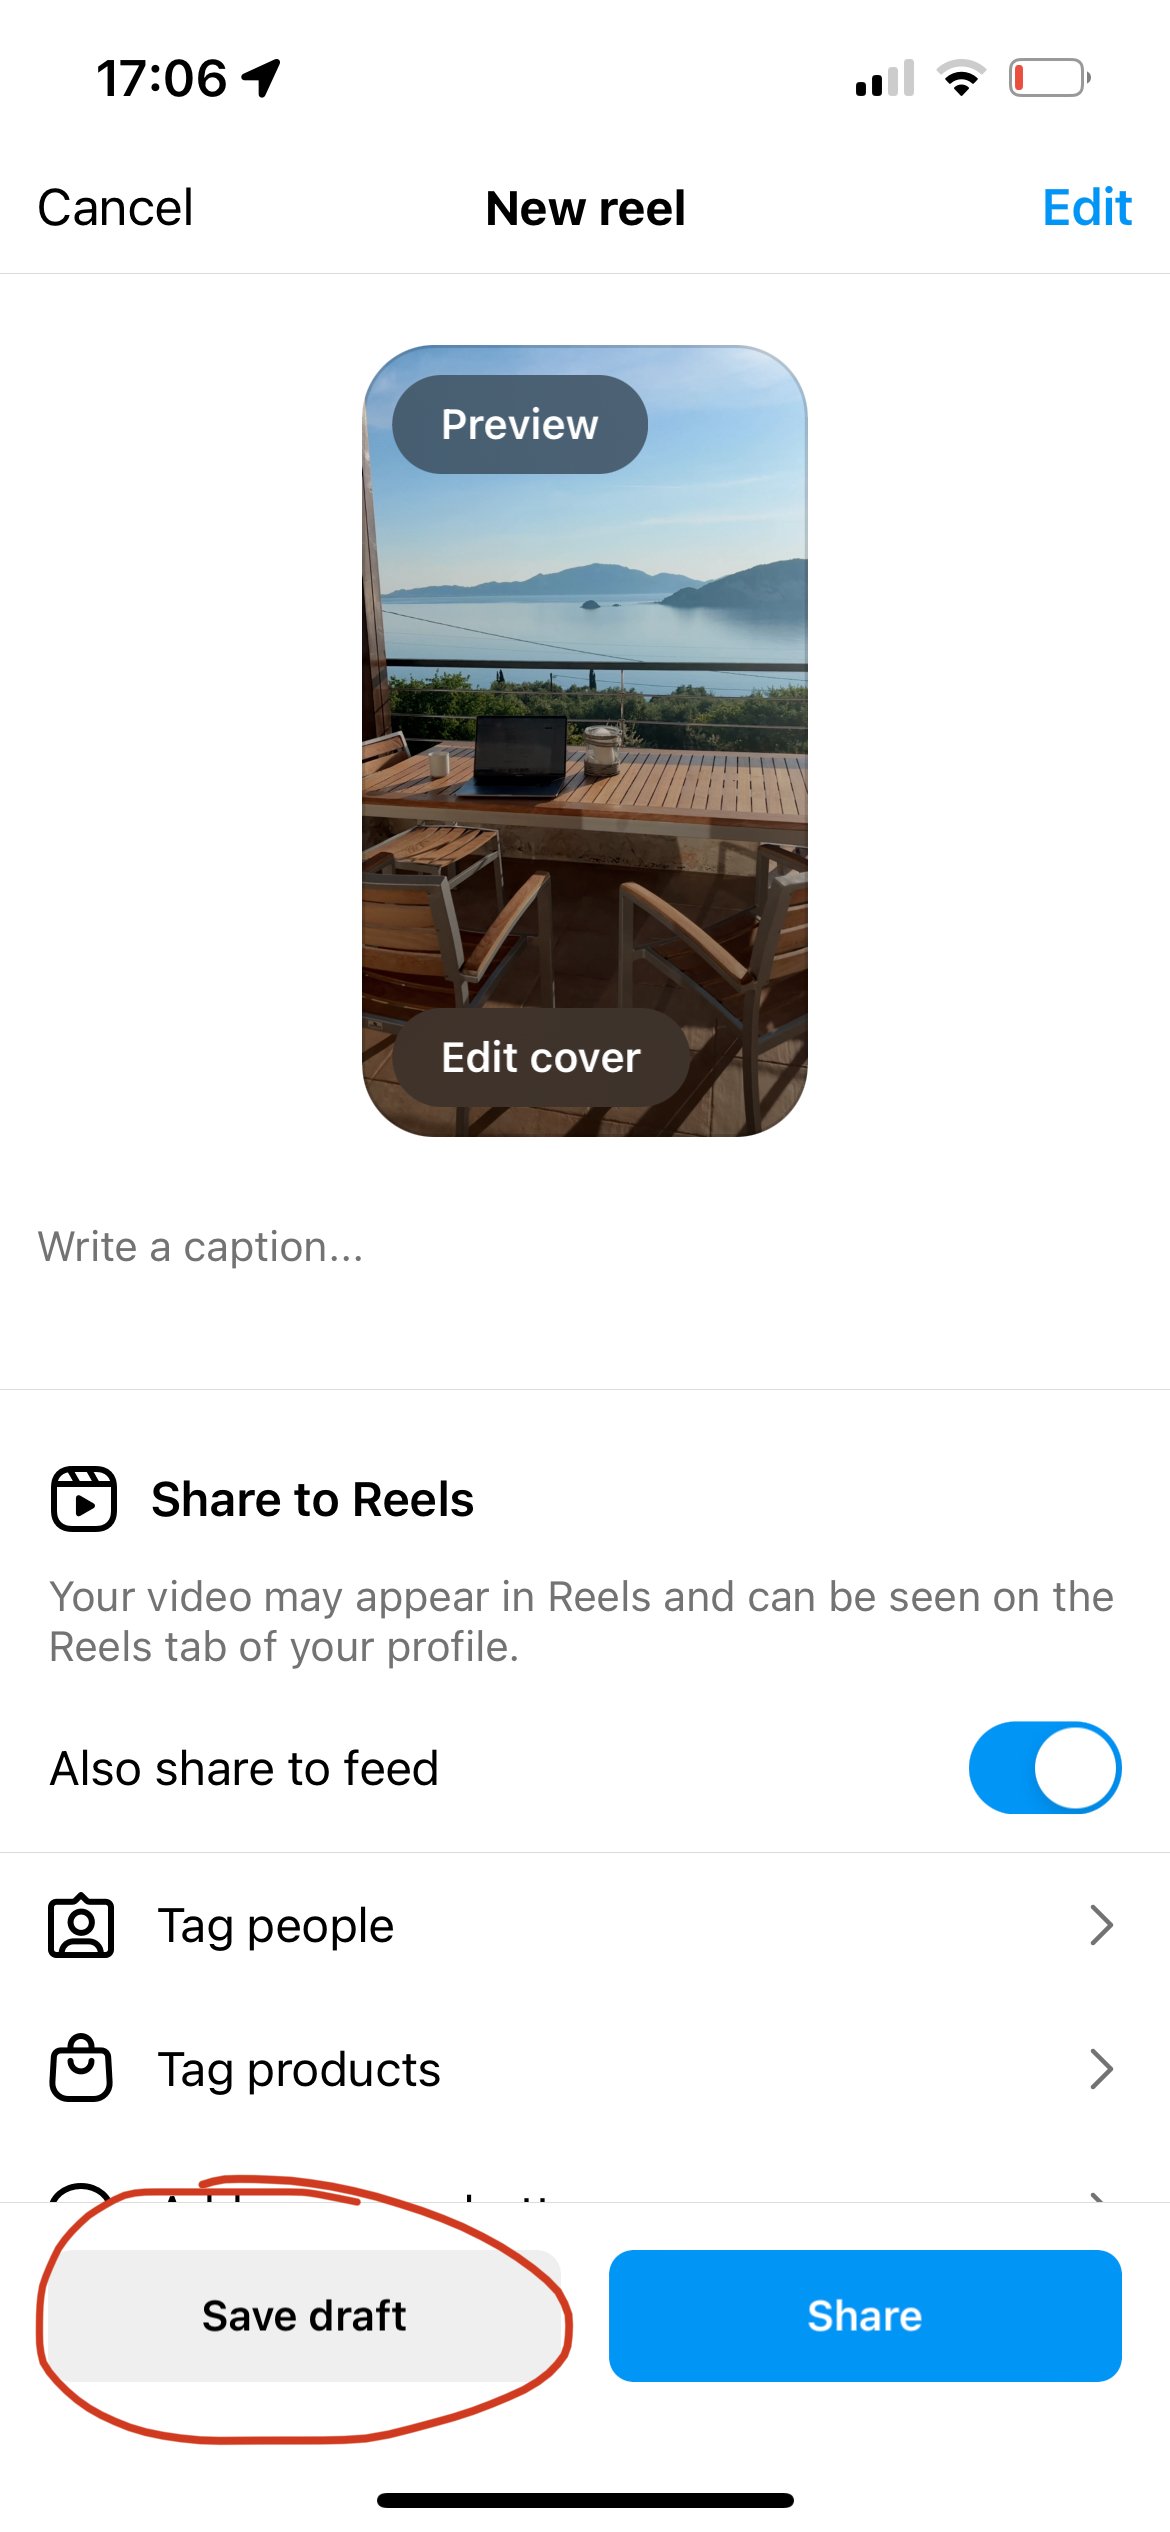
Tip 4: Save your reels and save as drafts before you share
Once you share your Reel, you can’t go back and edit the clips - only the caption and Reel settings. I’ve learned this the hard way after discovering a spelling mistake in my video once I’d posted it, and accidentally hitting publish when I wasn’t actually done editing.
So I’d recommend when you’re on that last screen with the caption, cover photo and share options, to tap the ‘Save as draft’ text before pressing Share, just in case you need to go back and make edits.
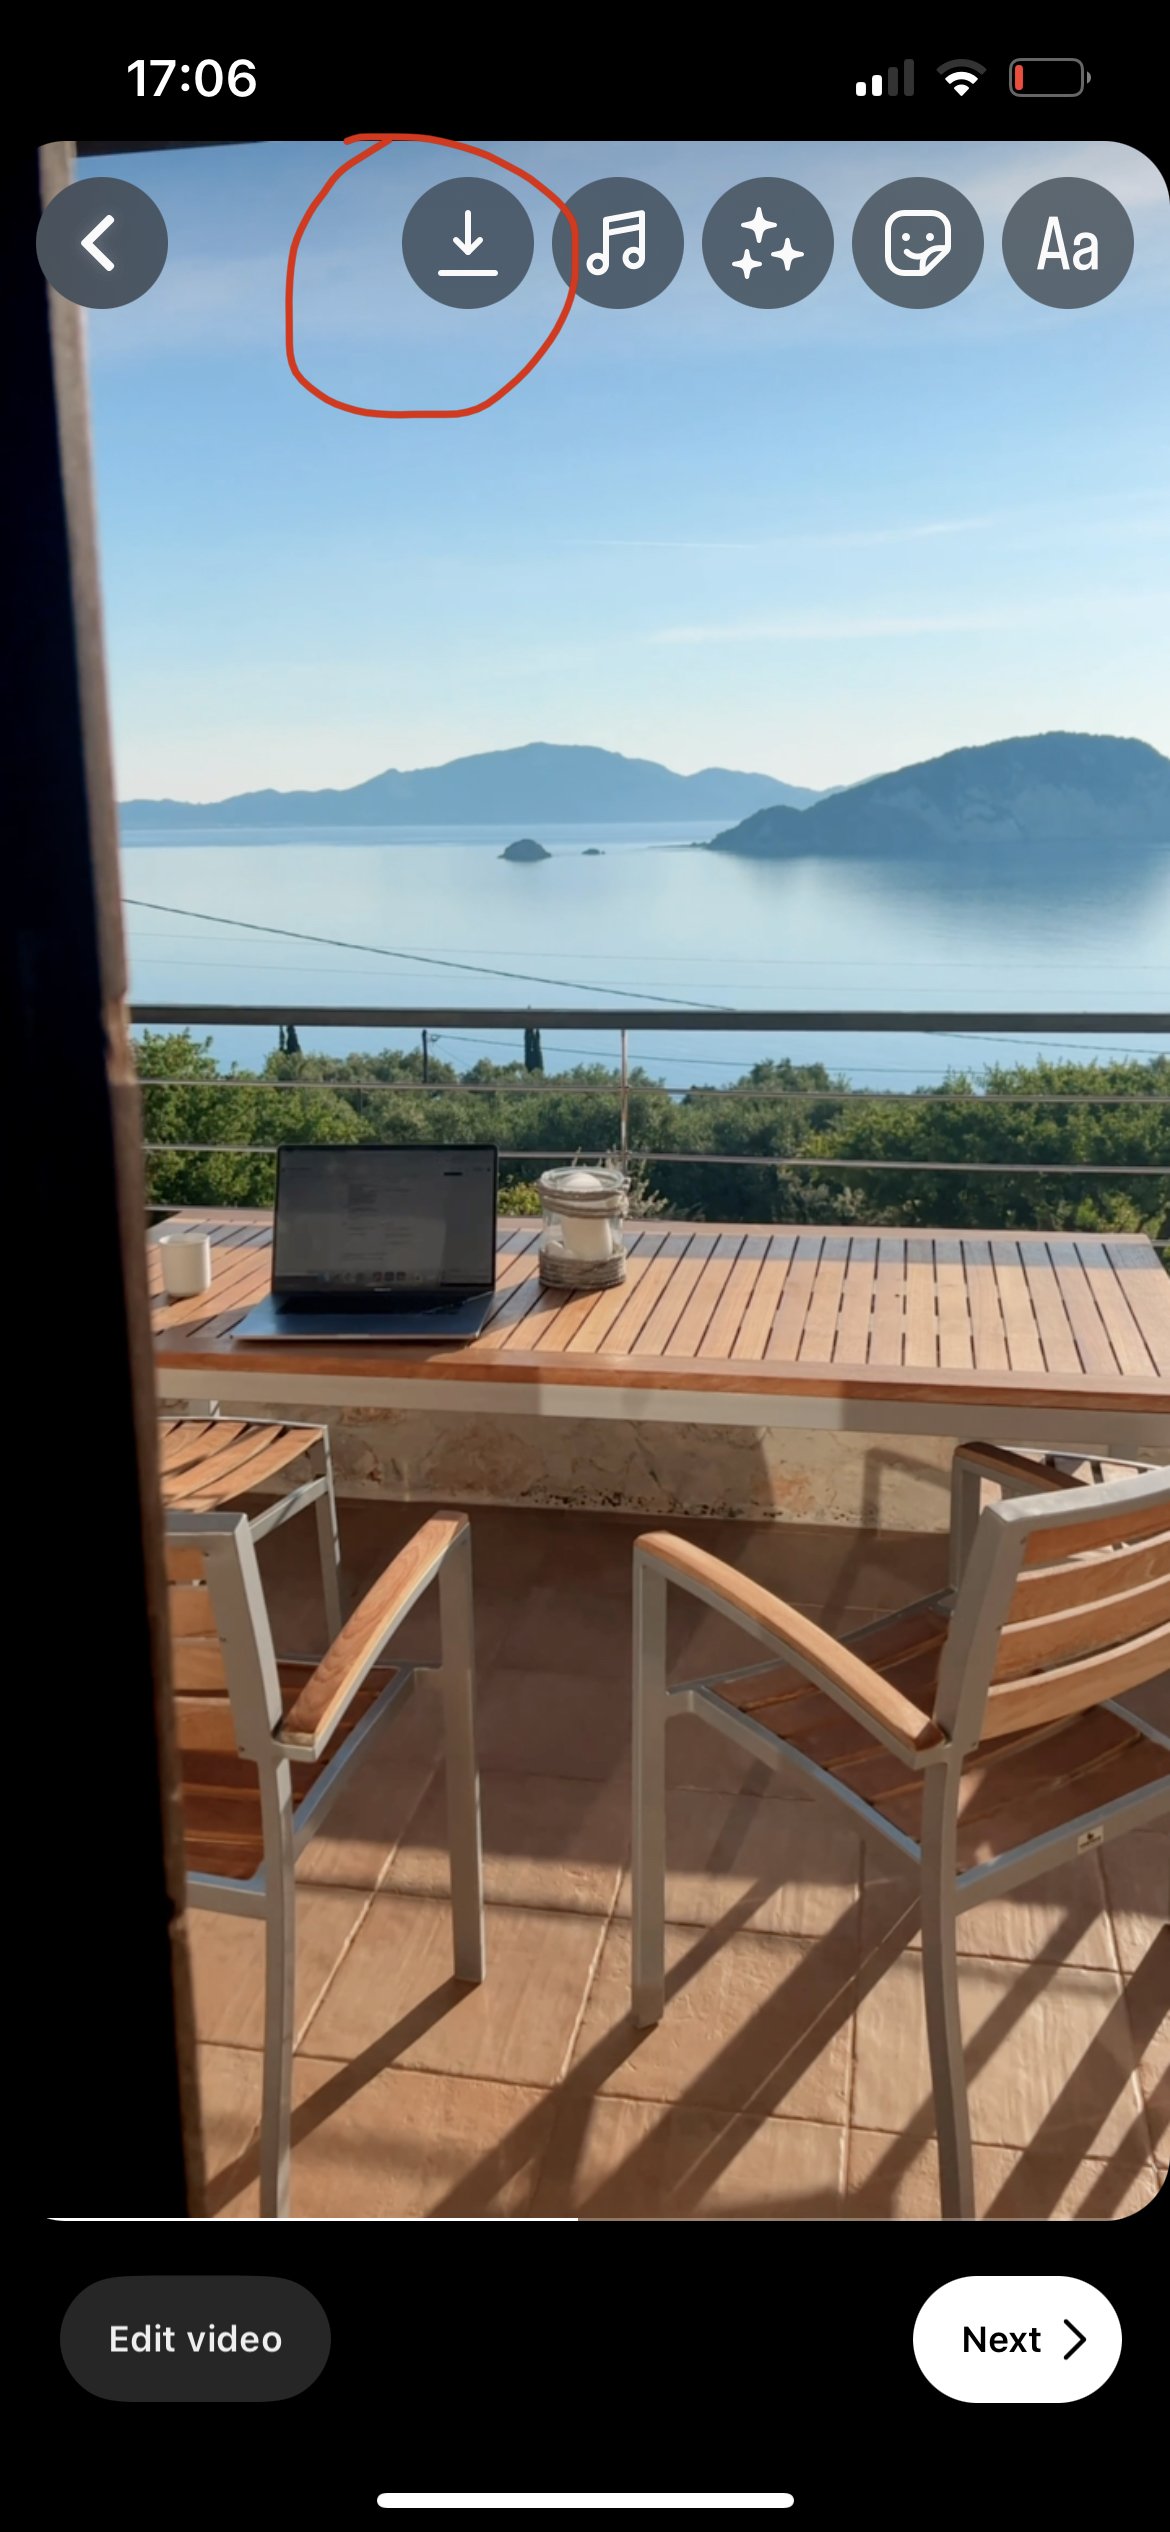
Also, while you’re editing the Reel, you can hit the little ‘download’ button, which will save the Reel to your camera roll. It will download without the audio, but it’s useful just in case there are any issues when you upload the Reel (classic Instagram glitches!).
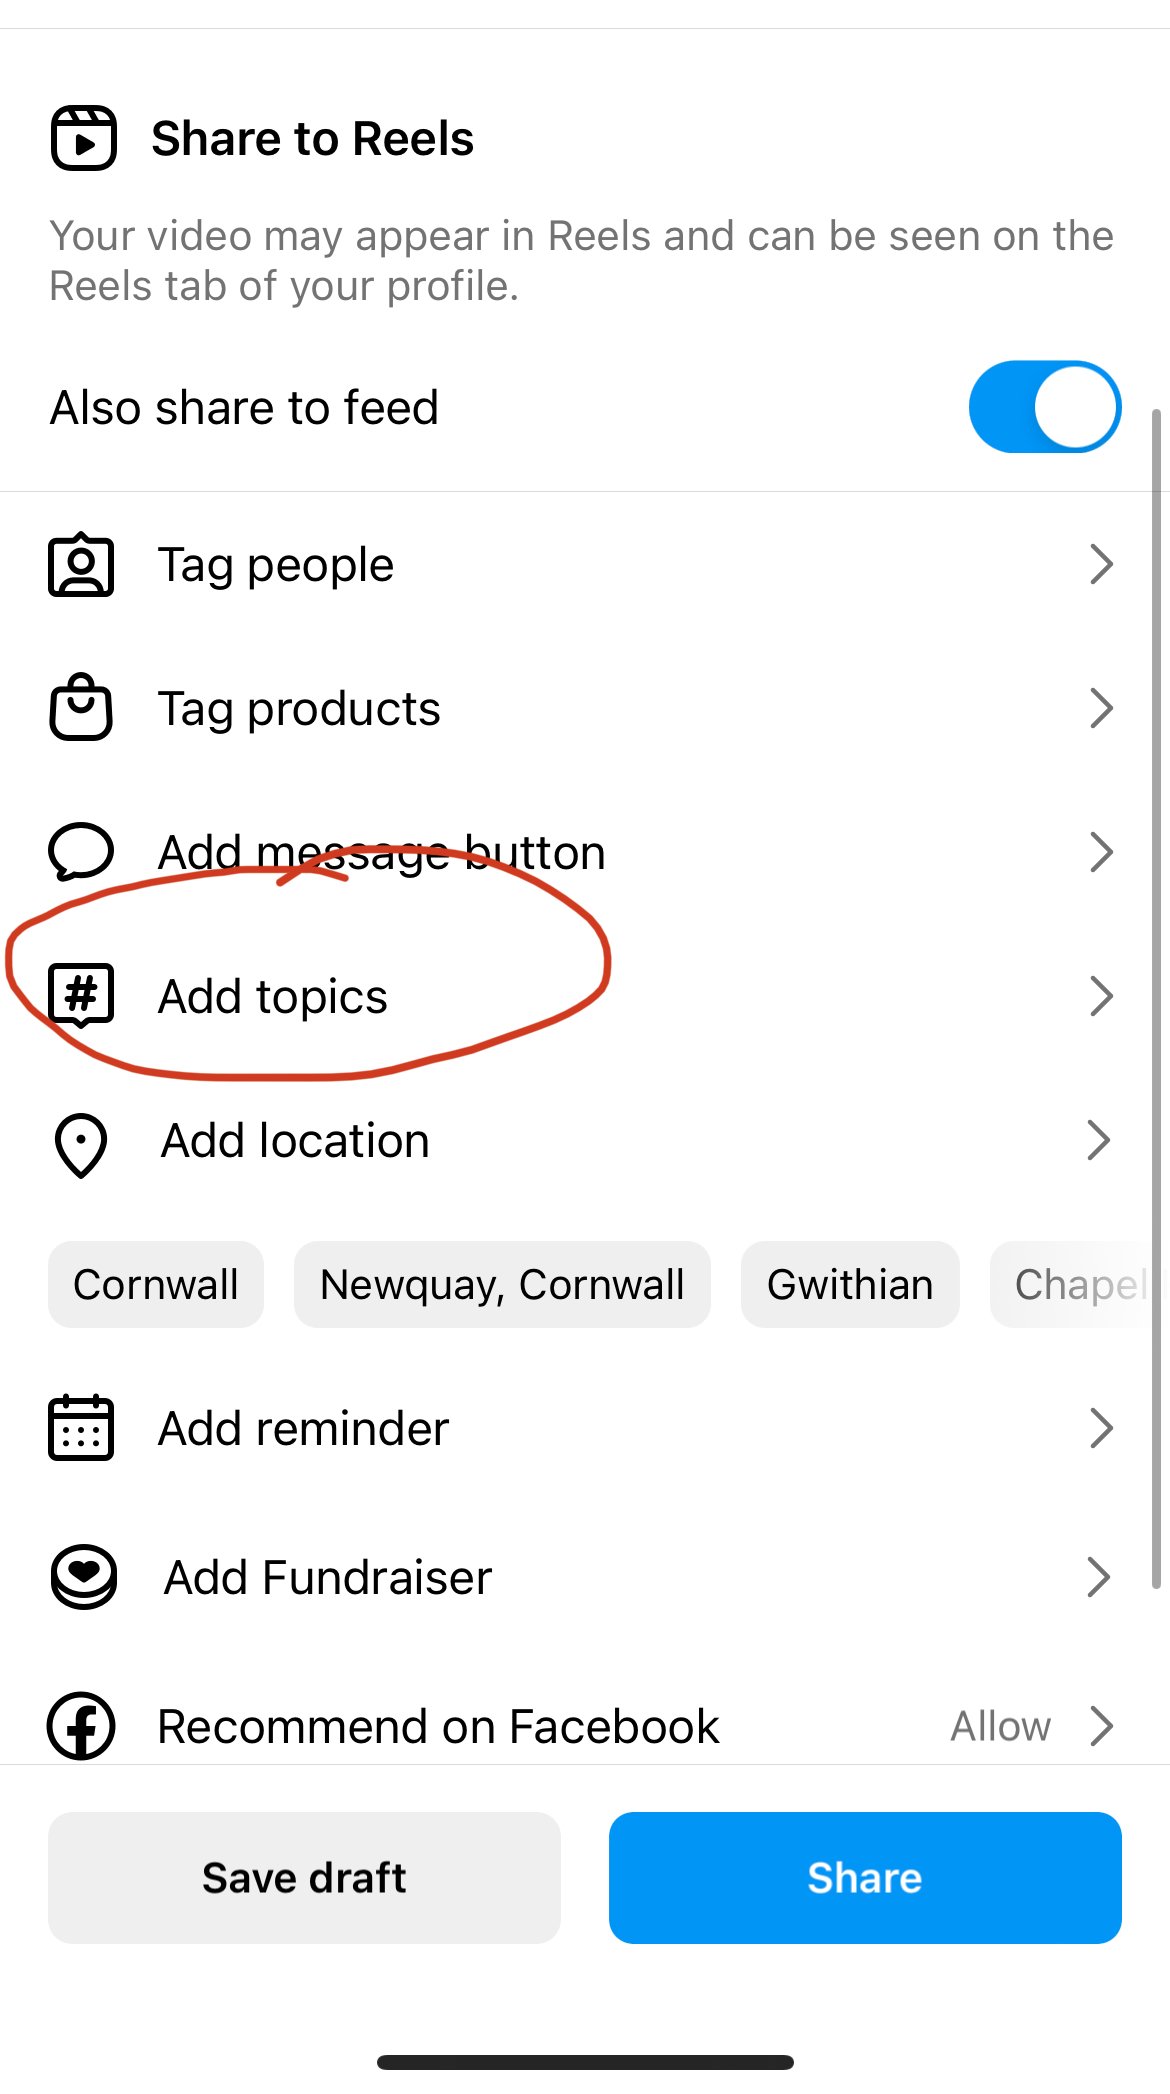
Tip 5: Don’t forget to add ‘topics’ to your Reel settings
Reels are searchable in Instagram’s Explore tab, so it’s really important you’re writing captions with the right keywords that you want to get found for, using a handful of relevant hashtags, AND adding ‘topic tags’ to your Reels!
You can add these in the settings before posting, and select up to 3 of the most relevant.
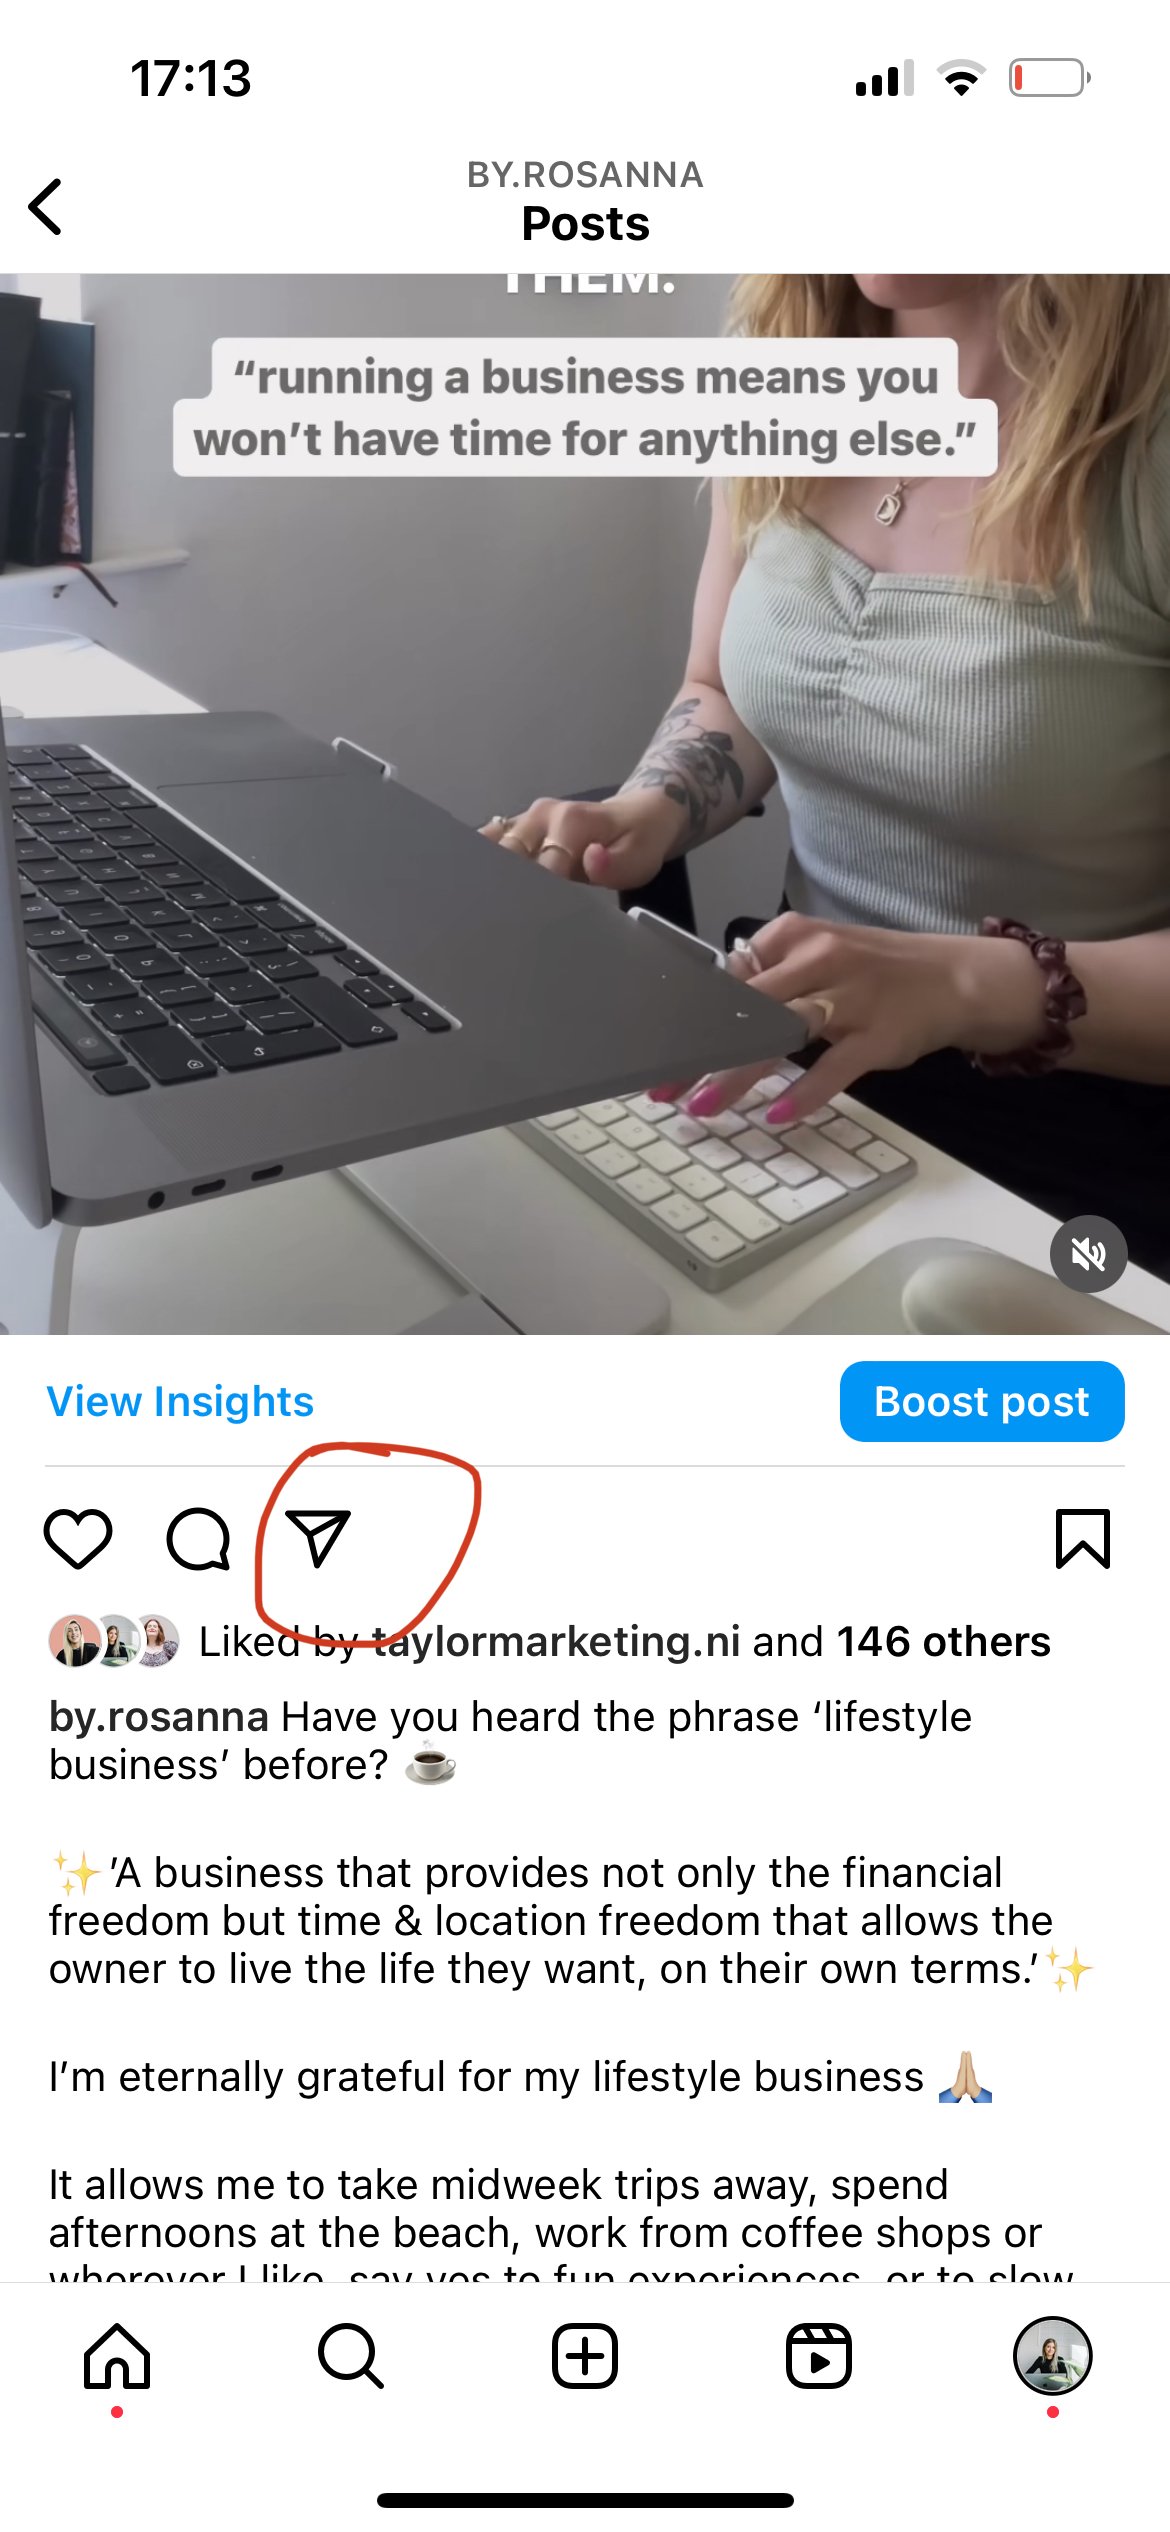
BONUS TIP: Share to your reels to your Instagram story
Once you’ve published your Instagram Reel, you can tap on the little paper aeroplane icon to share it. You have the option to send to your friends, or share it to your Instagram story!
When you share it to your story, this shows your Stories viewers that you’ve posted something new, when the algorithm might have meant that they wouldn’t see it in their feeds otherwise.
Psst…Don’t rely on Instagram for your marketing!
Instagram is just one part of my overall marketing strategy. Need more ideas? Get my guide here: