

Send more engaging, personalised emails using Flodesk (Preferences, Custom Fields, and more!)

Learn how to add personalisation to your email marketing using Flodesk.
Creating personalised, tailored emails to your subscriber list is the best way to engage your audience and up-level your email marketing! In this post I’ll show you 4 features inside Flodesk that help you do this.
The last one is my favourite as you can get super creative with it!
Table of Contents
WATCH THIS ON YOUTUBE OR KEEP SCROLLING TO READ:
Why is using more personalisation in email marketing important?
The overall effect of incorporating more personalisation into your email marketing strategy is that it creates a better experience for your subscribers.
Emails feel like they’re written for them
They’re served content that’s highly relevant to them
They feel like they’ve been listened to
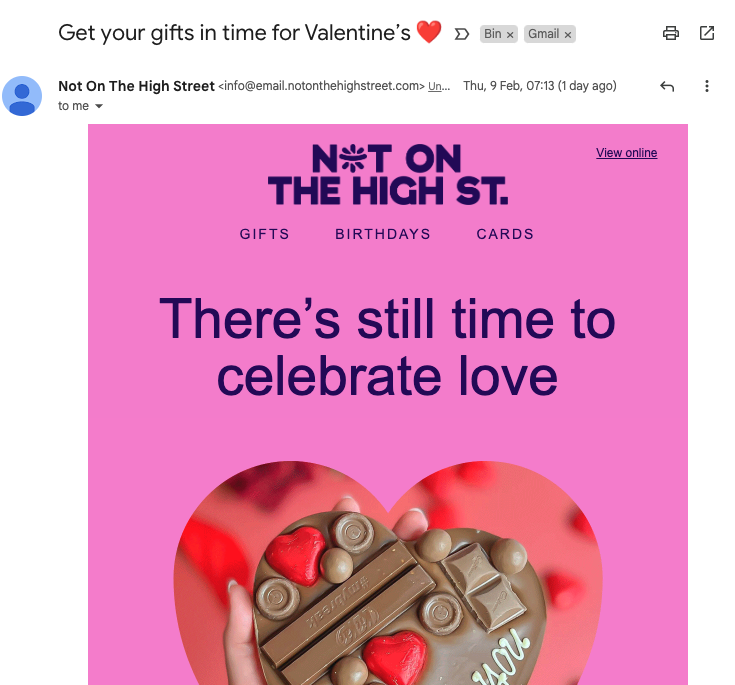
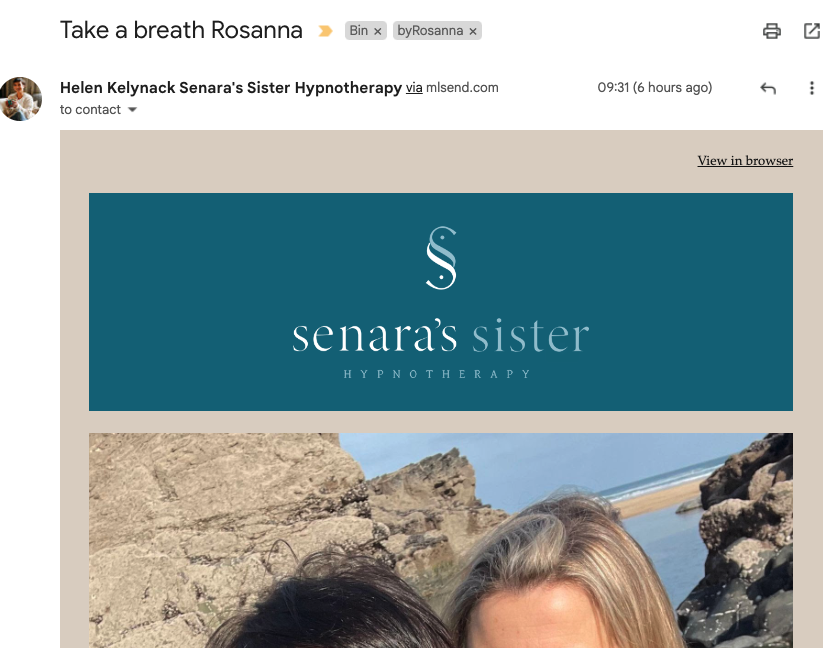
Imagine the difference of how you feel when you see a generic email newsletter land in your inbox:
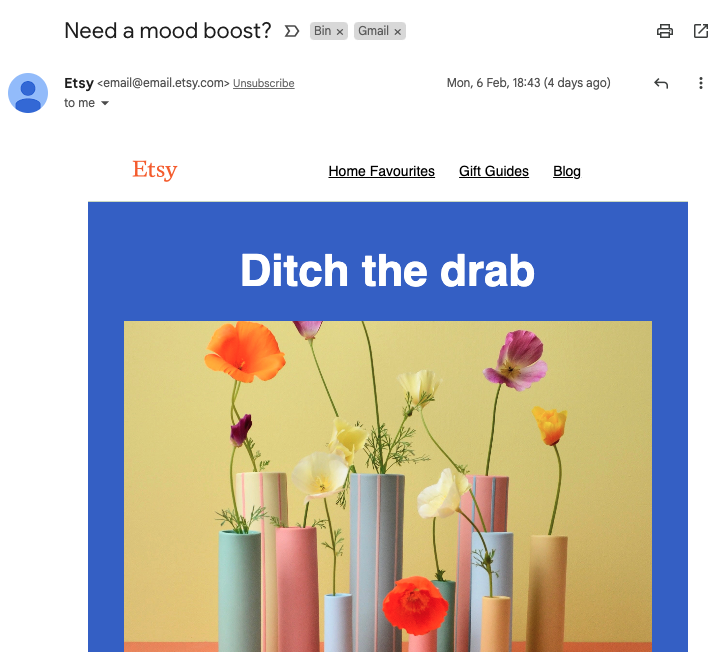
VS emails that feel like they’re speaking to you because they mention your name, your interests, or where the content is tailored specifically to your needs:
As you can imagine, emails that use personalisation typically get opened more, and are engaged with more because of this! Which is obviously great for us as business owners too.
Luckily, Flodesk’s email marketing software makes this personalisation really easy to implement. Below are 4 features to help!
Further reading: The Ultimate Guide to Flodesk (and comparison with Mailchimp)
Flodesk Feature 1: Name personalisation
From a psychology point of view, hearing or seeing your own name instantly makes us more alert. So including someone’s own name in the subject line, or the first couple of lines of an email newsletter is a sure-fire way to grab their attention, and stand out from the sea of other emails.
First of all, make sure that your Flodesk sign up forms are definitely collecting name data. Edit your form and click on the ‘email’ field, and on the right-hand side you’ll see where you can add fields for collecting information.

When you’re designing an email in Flodesk, you can type ‘@’ into a text block, and you’ll be able to select ‘First Name’ from the dropdown. This will add a ‘dynamic' field’ to the text that will populate automatically with the subscriber’s name when it lands in their inbox!
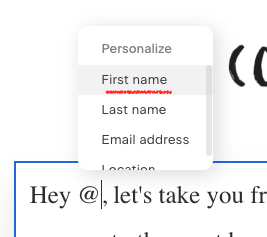
(It’s important to also include a ‘fallback word’, just in case your subscriber doesn’t have their first name filled in. Something like ‘friend’ or ‘you’ typically makes sense.)

You can also do this when you come to write your subject line! Follow the same steps, and this is a great way to stand out in peoples’ inboxes & get more people to open your emails.

Flodesk Feature 2: Segmenting your list
Creating different segments for different people in your email list helps to keep it organised, and helps you keep track of things like:
Where a subscriber came from (eg. an upload, a website sign up form etc)
Who signed up for a specific opt-in freebie/lead magnet
What people are interested in
and more!

Keeping your subscribers organised into segments means that you can send specific email content to specific people! Because when you go to send your email campaign, you’ll notice you get to choose which segments you send it to:

You can of course just send the email to ALL your subscribers, but choosing specific segments allows you to tailor the content specifically to certain people.
You can select just one segment, or multiple, and you can also exclude segments as well.
Useful for if you want to send an email about a product, for example, but don’t want existing customers to receive that email!

Flodesk Feature 3: Subscriber ‘preferences’
You can actually have your subscribers automatically segment themselves, by letting them choose their ‘preferences’ when they sign up via your sign up forms.
Start by deciding what types of different content you plan to be sending out, so that you can let people choose which they want to receive. For example, for my travel blog this would be:
Cornwall content
Travel content
Product promotions
You’ll then want to create segments for each of these topics! ^
Next, if you go in to edit your sign up form and click anywhere on the background, you’ll see a ‘preferences’ toggle on the right hand side.

Switch that on, and then you can create a list of options for people to choose from! Add them on the right-hand side, and then map each option to the segment this should add people to.
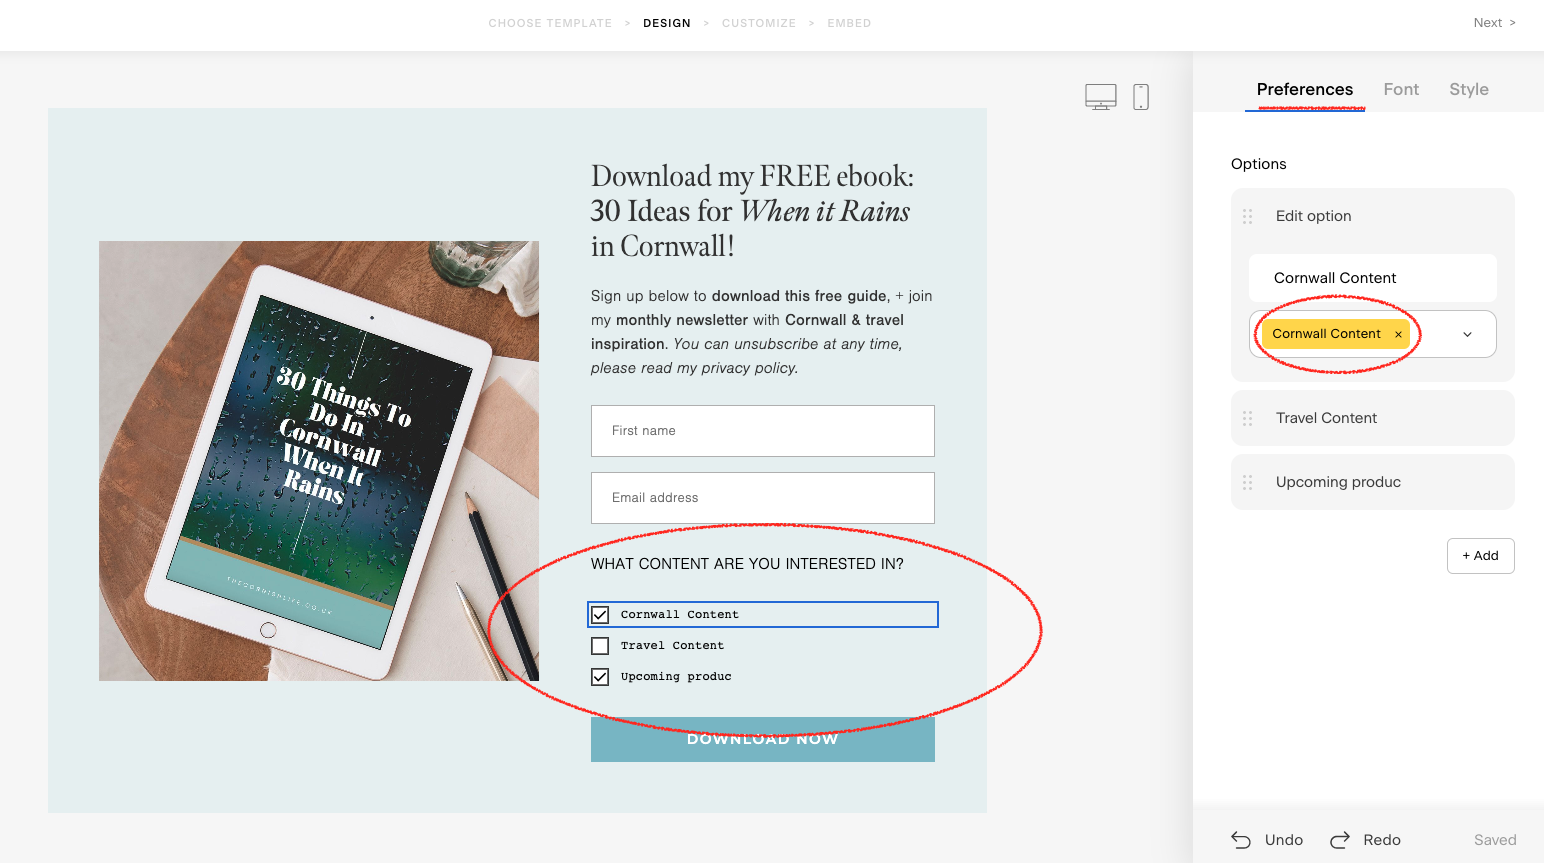
So now, if someone selects they are interested in ‘Cornwall content’, this will add them to my ‘Cornwall content’ segment.
(And yes, it will also add them to the' ‘All Subscribers’ list, AND to the segment that the form is set up to add people to as well - keep that in mind.)
Then you can go ahead and create email campaigns about these specific areas of content, and ensure you select the correct segments before you send it out!
Flodesk Feature 4: Custom fields
You can get really creative and personal with this feature!
First of all, go in to edit your sign up form and click on the ‘email address’ field. This will open up the options for data you’re collecting on the right-hand side, and if you choose ‘Add’ it will give you the option to ‘Create a custom field’.
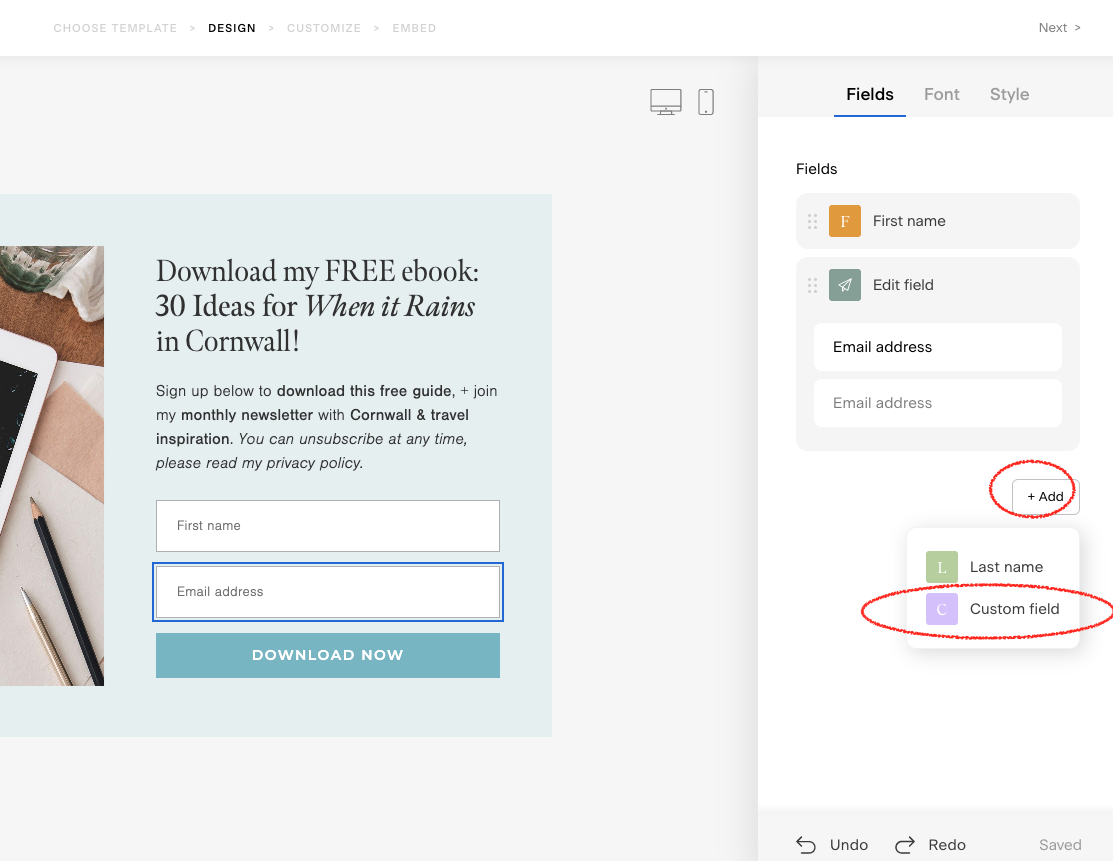
Here you can create a custom field for people to fill out, and this will also automatically add this to every subscriber in your list.
For example, if you wanted each of your subscribers to fill out their location, you could create a field called ‘Location’ and ask people ‘where are you based?’.
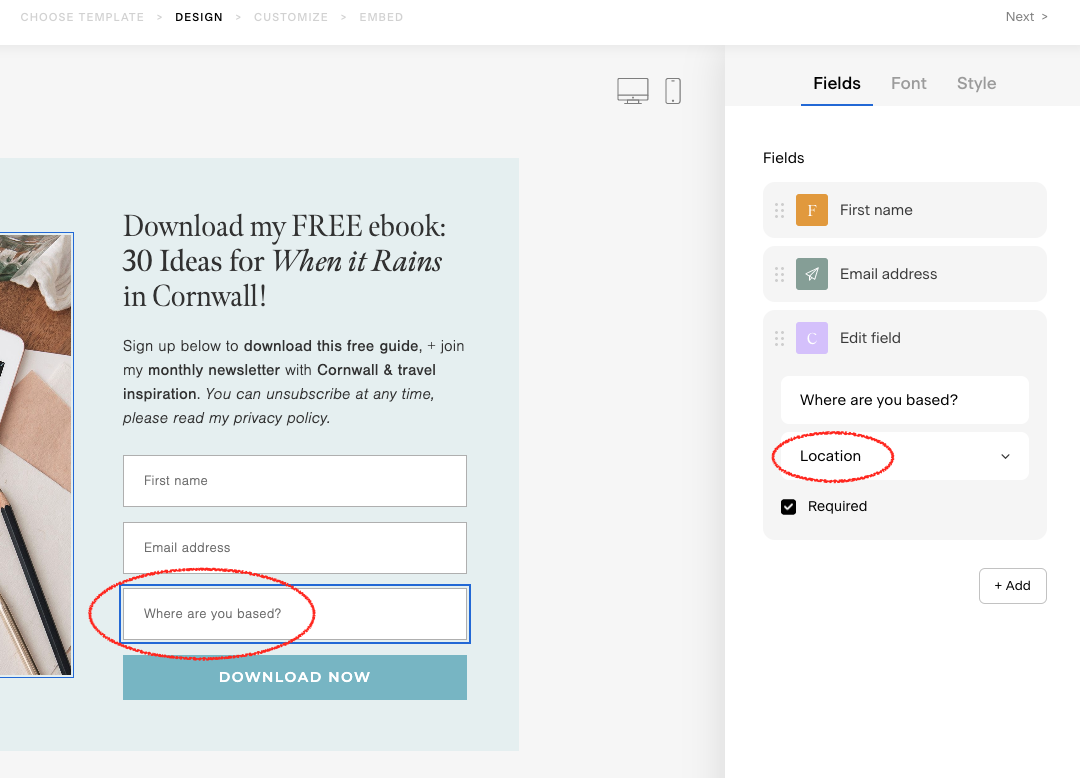
Each subscriber’s answer will be slightly different, but they’ll all have this field added to their subscriber information.
You can then use this - just as you can with the ‘first name’ field, in Feature 1 I mentioned! - inside text blocks of email campaigns. It will create a ‘dynamic field’ that displays whatever text the subscriber typed in when they signed up.

There are lots of different ways to use this - perhaps asking for a ‘company/business name’, or even a ‘pet’s name’! It’s a great way to make really unique, personalised emails.