

Writing a Blog Post in WordPress

Creating blog posts in WordPress is simple when you get the hang of it.
Whether you're just starting out or moving over to WordPress from Blogger, Squarespace or another Content Management System, the transition can be daunting at first.
And while it is easy to get used to, there are also a few tips and tricks that I've learned over the years that are great for optimising your blog posts for engagement and SEO too.
The process:
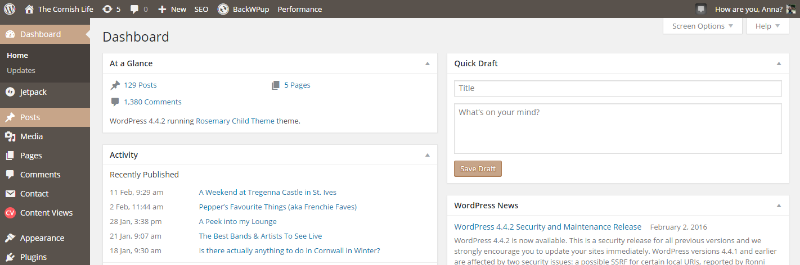
Navigate to your WordPress dashboard and head to the 'Posts' section on the left-hand sidebar. Here, press 'Add New'.

In here you'll see a box for you to write the title of your blog post, a large content box (in which you can write your blog post), and some other sections, as well as the 'Publish' section on the right-hand side.

For your blog post title, it is recommended that you include the keyword or phrase that you want your blog post to be found on search engines for, and of course make it appealing to your target audience.
You'll notice above the 'Title' box, there might be tabs for 'Standard', 'Gallery', 'Video' or 'Audio'. Selecting these determines the style of your blog post, and basically define what type of media will be shown at the top of the page (your 'featured' media).
You'll notice once you've written in a title, a 'permalink' will appear underneath. This is what the URL of your post will be when it's published.

If your permalink structure looks different to this, you can change it in your WordPress settings (Settings > Permalinks in the left sidebar).

When writing your actual blog post content, you can format it in various ways (bold text, italic text, bullet points, numbered lists, center aligned etc). You can also create links by highlighting the text you want to be a link and clicking the link button:

You can link to any URL, or to any page on your website. I recommend ticking 'Open link in new tab' so that people aren't taken away from what they're currently reading.

You can also add images, galleries or videos within your blog post by clicking 'Add Media' in the left-hand corner. You can choose whether to select media from your library of things you've previously uploaded, or upload a new image.
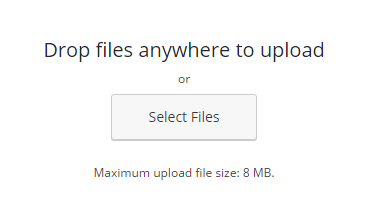

Once uploaded, you'll see some information about the image you've uploaded on the right-hand side. It should tell you how large the image is, and it will take the title from the name of the file.
IMPORTANT:
You should always add text to the 'Alt Text' section. This text gets read by audio readers for visually impaired visitors to your website, and is actually a legal requirement on your website. It is also beneficial for SEO that these get filled in with something related to your keyword or phrase.

Once you've added an image, you can drag it around and re-align it, and also edit the size, caption, title and alt text if you like.
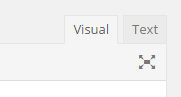
You may also notice these 'Visual' and 'Text' tabs in the right-hand corner of the content editor. If you select text, you will see a HTML version of your content.
It's a good idea to go into the 'Text' tab and add some <h> tags to your content. These make the text within them become Headings (eg, <h1>Heading One</h1>, <h2>Heading Two</h2>).
Not only does this create some interest by changing the style of your text in some areas of your blog post, it is also good for SEO; especially if your <h> tags have your keyword or phrase within them.
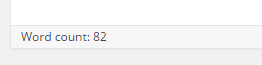
I thought I'd also mention that you can see your blog post word count at the bottom of the content editor. This is a really useful feature, and it's worth bearing in mind that typically blog posts of between 1000 and 2000 words get the most engagement and are more likely to be shared than post shorter or longer than that.

If you scroll down past the content editor, you'll see a list of blog post categories on the right-hand side. Select one or two that are relevant to your blog post (you can add or edit categories in Posts > Categories in the left sidebar).
Beneath the Categories section, you may also see a Tags section. You can add what you like to this; it is basically just a way of helping your visitors find your post if they search for other keywords.

Now, somewhere beneath the Category and Tags sections (depending on your theme), you should see the Featured Image section.
It is really important that you set a featured image for each blog post! Most themes will use the featured image you upload to create thumbnail images of your blog post for your 'Recent Posts' and 'Popular Posts' sections on your website, and some themes may rely on having these featured images displayed at the top of a blog post too.
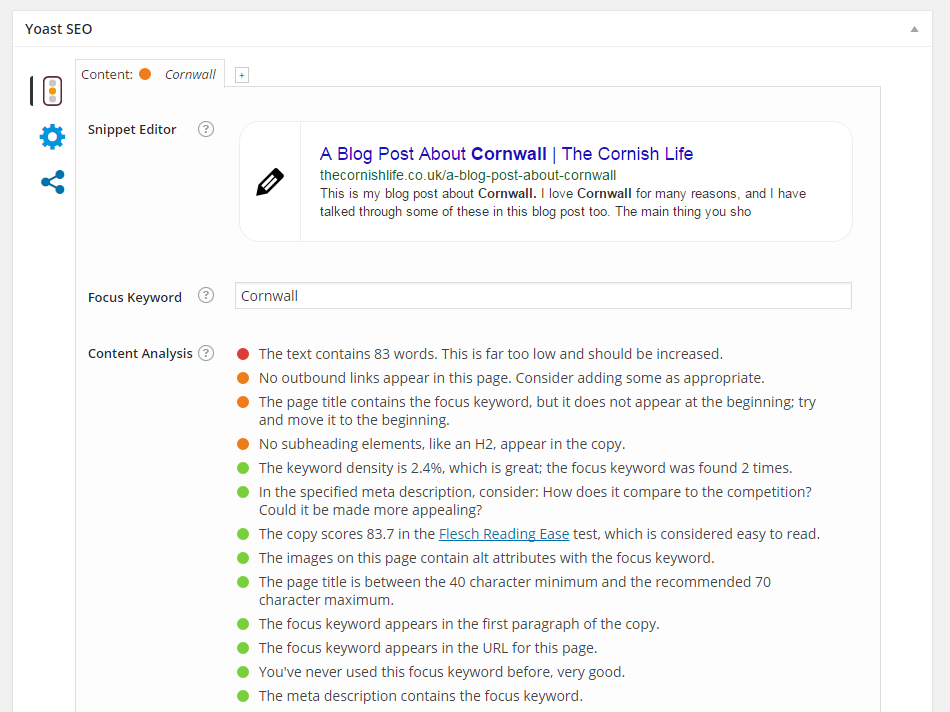
You may or may not see this section when creating your blog posts. This will show up if you have the Yoast SEO plugin installed.
This plugin will give you some tips on how to improve the SEO of each of your blog posts, and will rank how well your post is optimised using a traffic light colour coding system. You just need to remember to fill in the 'Focus Keyword' box with your keyword or phrase and it will tell you the rest.
Here, you can also edit the meta description (the couple of lines of text underneath the blog post title and URL, that shows up in Google search), by hovering over it and clicking to edit.

Depending on your theme, you may also see this 'Excerpt' section. Sometimes, your blog posts might appear on your website with just a summary and a 'read more' link, and this area define what shows up in that summary.
If you leave it blank, it will just grab the first few lines from your blog post content.

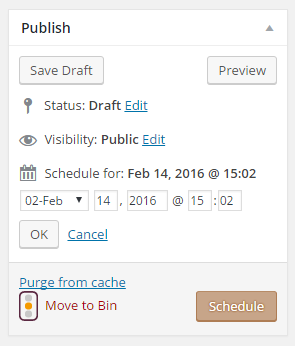
So you've finished writing, formatting and editing your blog post and you're ready to publish!
In this section you can save your blog post as a draft, preview what it'll look like, or publish it. You can also schedule it to post in the future, or backdate it so it looks like it was posted in the past by clicking 'edit' next to 'Publish immediately':
I hope that was useful for those of you who aren't yet experienced with using WordPress! Each of the elements I have shown here do look like they'll take a lot of time, but as you get used to doing it, I promise it will get quicker.
It's also worth going through all of these steps to make sure that everything you publish is fully optimised and displaying correctly around your website.
